AnyTech365 Security Guidelines
AnyTech365 Security: Comprehensive Installation and Activation Guide
Empower Your Digital Life with Next-Generation Cybersecurity
AnyTech365 Security, powered by Panda Security, delivers a unified platform for antivirus protection, ransomware defense, and system performance optimization. Compatible with Windows, macOS, and Android, this solution ensures robust protection against today’s evolving cyber threats.
Installation Guide
For Windows Users
- Run Installer: Open the downloaded “.exe” file to begin the setup.
- User Account Control: If prompted by the Windows security window, click “Yes” to allow the installation to proceed.
-
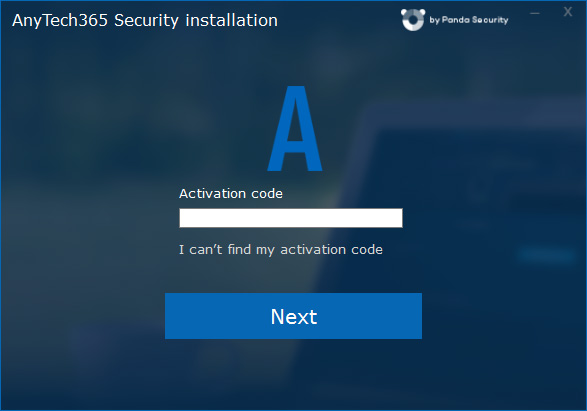
Enter Activation Code: Input the activation code provided in your welcome email and click “Next”.
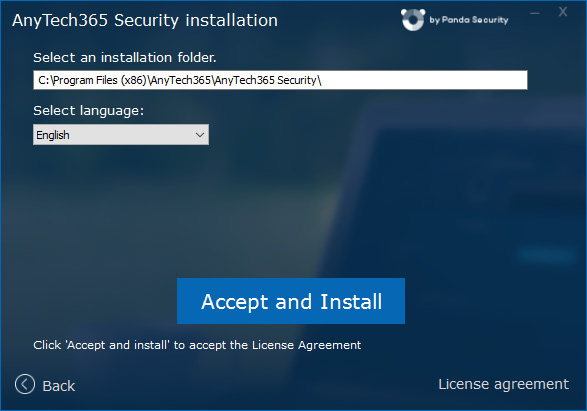
- Installation Folder: The default installation path is “C:\Program Files (x86)\AnyTech365\AnyTech365\”, though you can select a different location.
- Select Language: Choose your preferred language for the installation.
-
Accept License Agreement: After reviewing the End-User License Agreement, click "Accept and Install" to proceed.
-
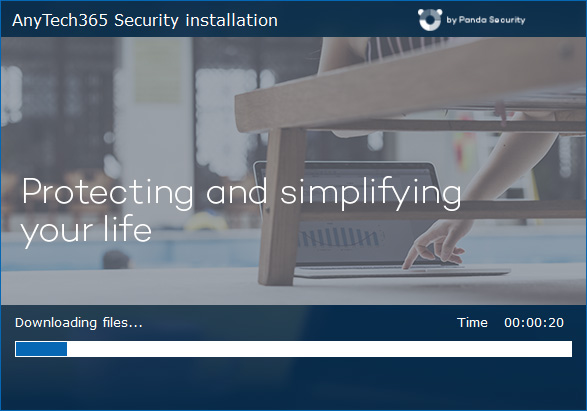
Installation Process: The installer will briefly download the latest necessary files and install the software.
-
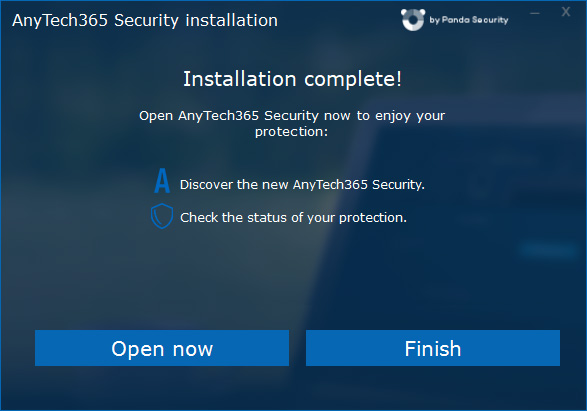
Installation Confirmation: Once installation is complete, a confirmation message will appear.
-
Complete Setup:
- Click “Open now” to immediately launch AnyTech365 Security and complete setup (recommended).
- Alternatively, click “Finish” to close the installer. Note: Your protection is not fully activated until you open the software for the first time.
-
Initial System Check:
Upon first launch, AnyTech365 Security will perform a short system check to ensure your device is fully protected and functioning correctly. Please note that this initial check may take a bit longer than usual.
Note: This check only occurs once—during the initial startup after installation.
For macOS Users
-
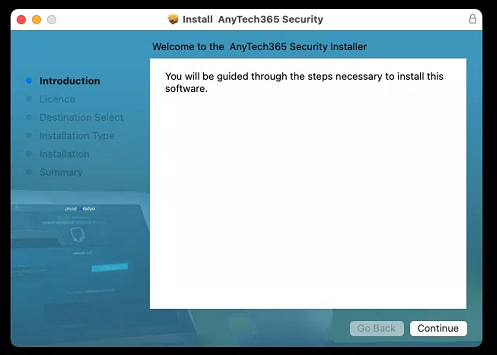
Run Installer: Open the downloaded “.pkg” file and click “Continue” to begin the setup.
-
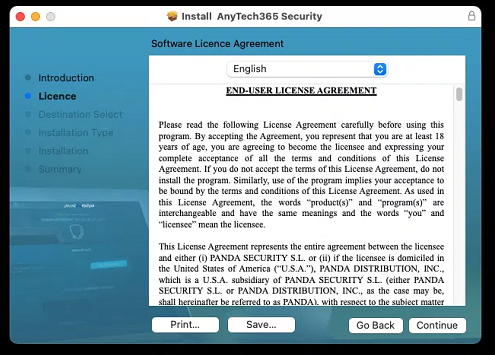
Accept License Agreement: After reviewing the End-User License Agreement, click on “Continue”.
-
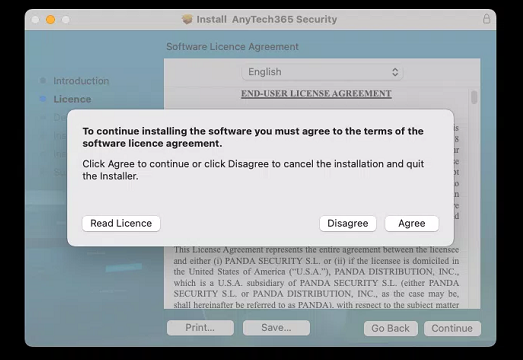
Then click “Agree” to proceed.
-
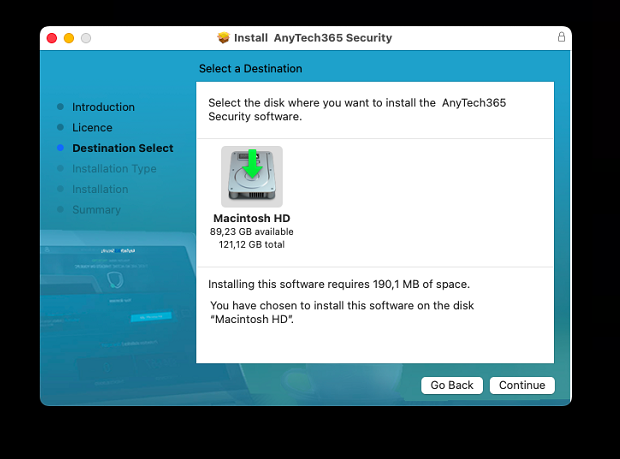
After selecting the disk where you want to install it, click on “Continue” to proceed.
-
Click on “Install” to begin the standard installation

-
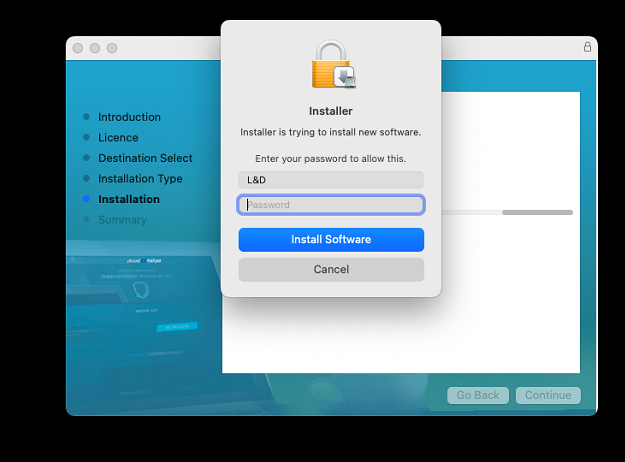
You will be prompted to enter your user credentials.
Enter your Mac login password.
Then click on “Install Software”.
-
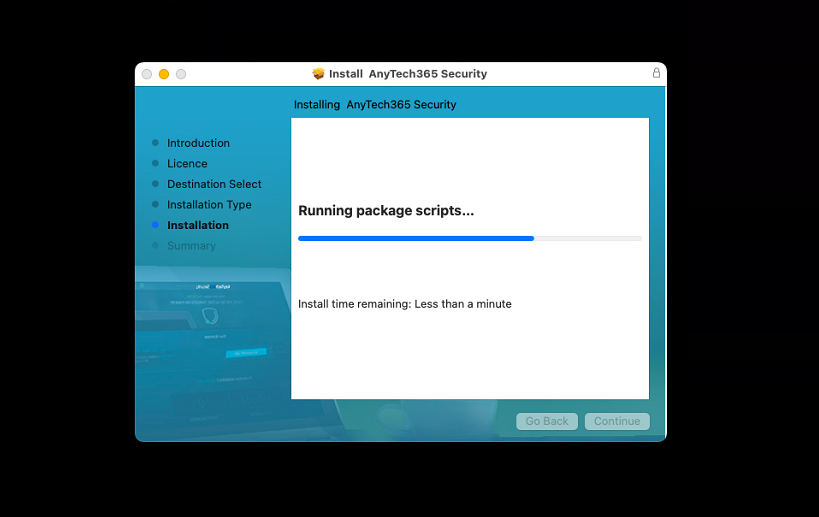
The installation process may take a few moments.
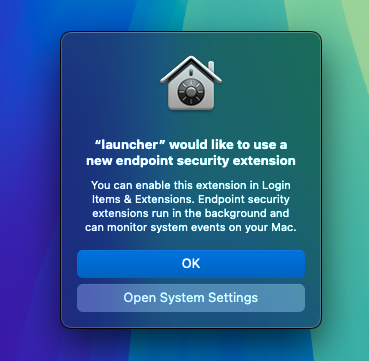
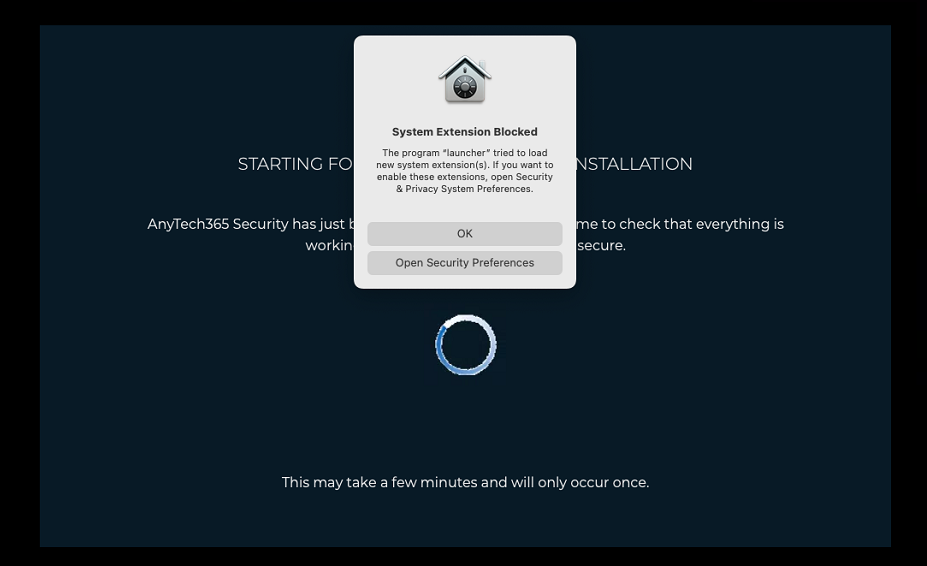
If you see a popup window, you can ignore it for now. We will guide you to “System Preferences” right after the activation process.

If you are using Sequoia, Click here to view the updated installation process.
-
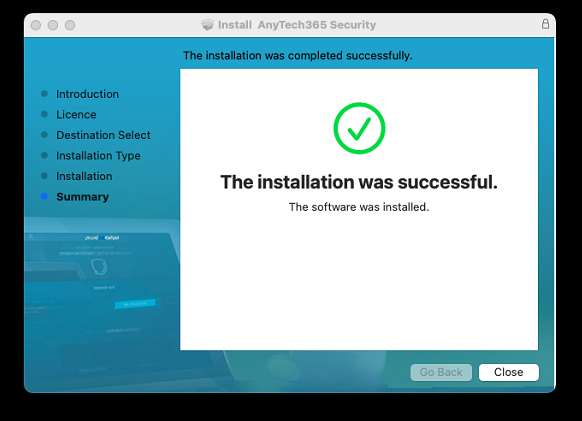
Please wait until you see the confirmation message: “The installation was successful” then click on “Close”.
-
Then click on “Open Security Preferences”.

-
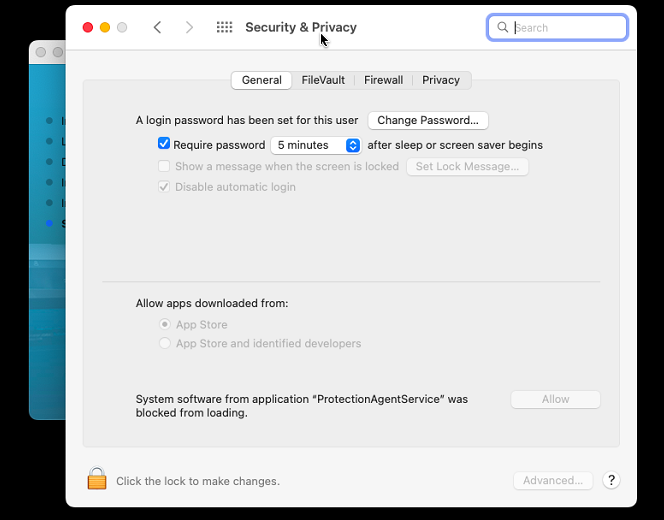
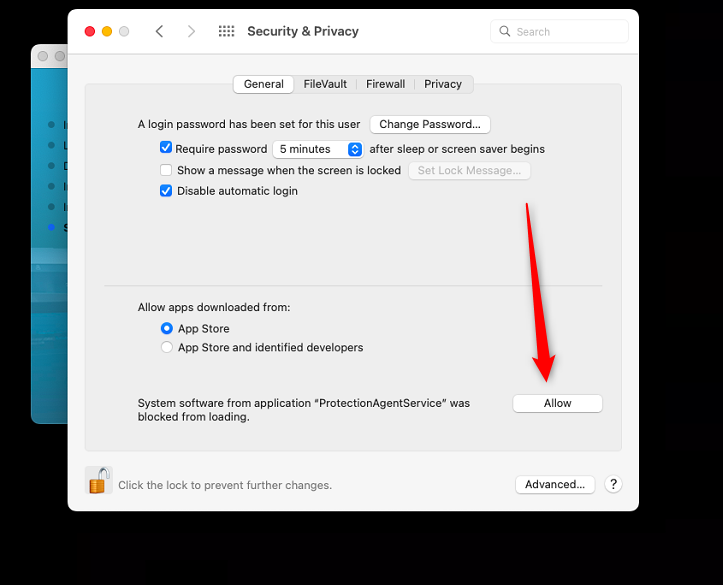
It will open the “Security & Privacy” window and
make sure the “General” tab is selected.
-
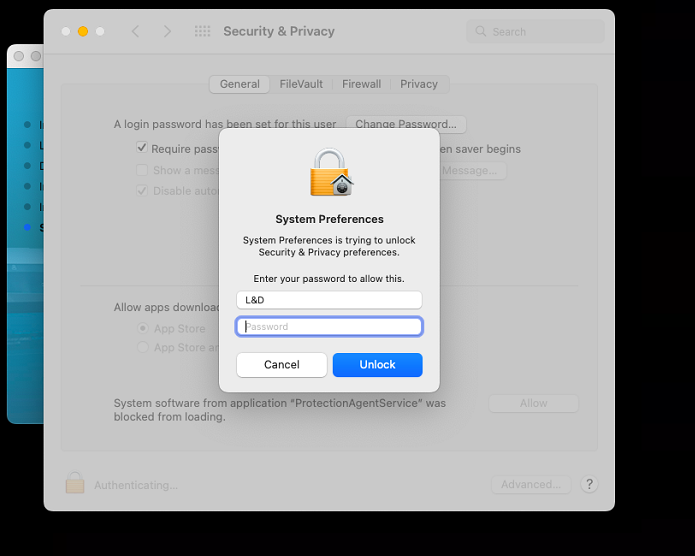
Click on the lock placed on the bottom left to unlock and type your Mac password and then click on “Unlock”.
-
Click “Allow”, then close the window.
-
The installation was successfully finished. Click on “Close”.
-
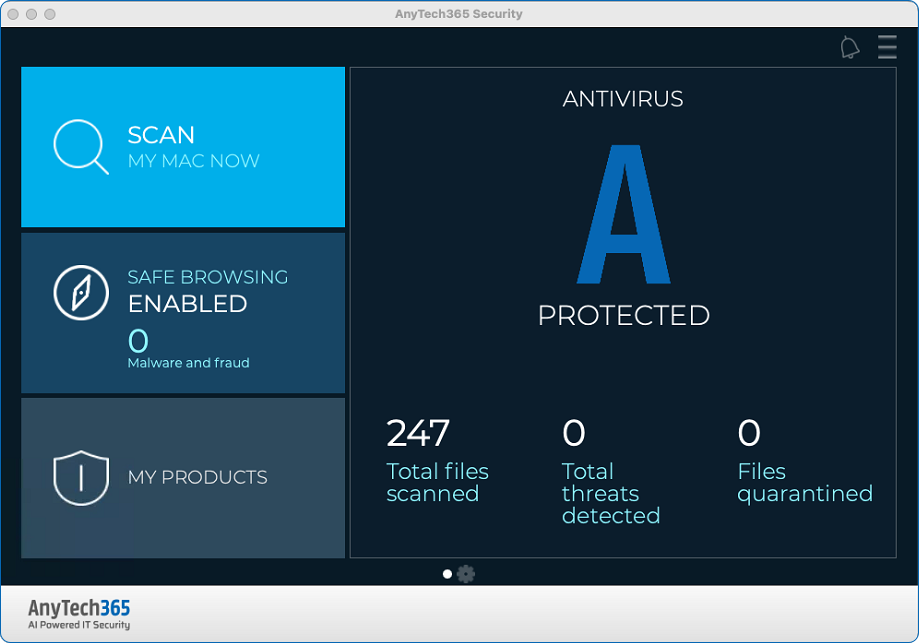
The AnyTech365 Security logo will appear in the Dock.
Click the blue capital “A” icon to open the software.

-
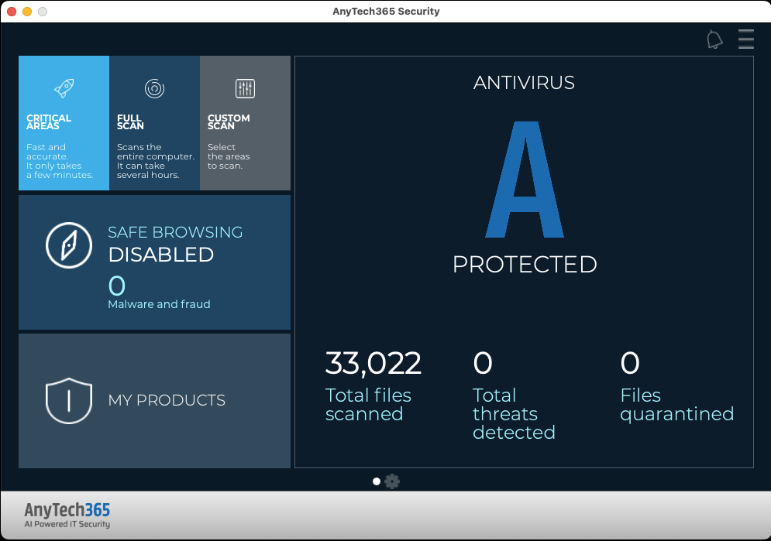
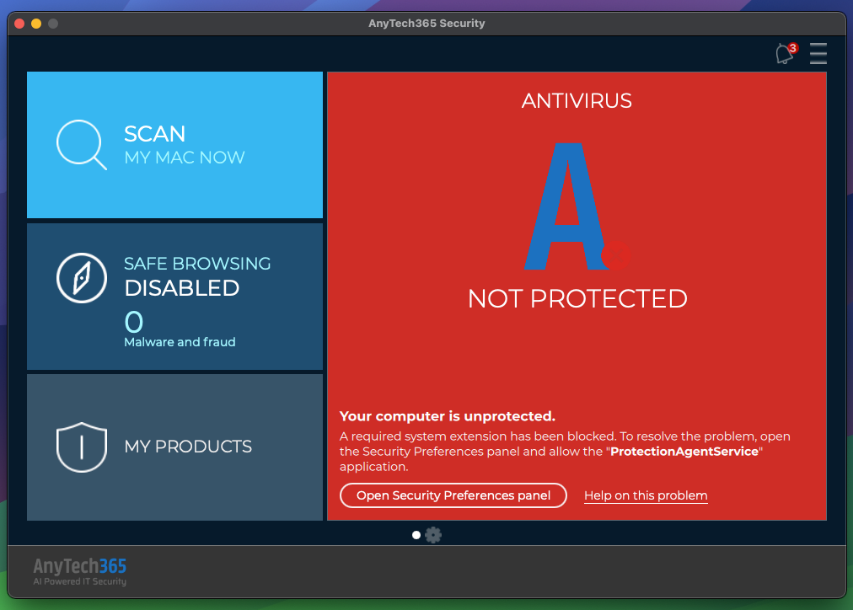
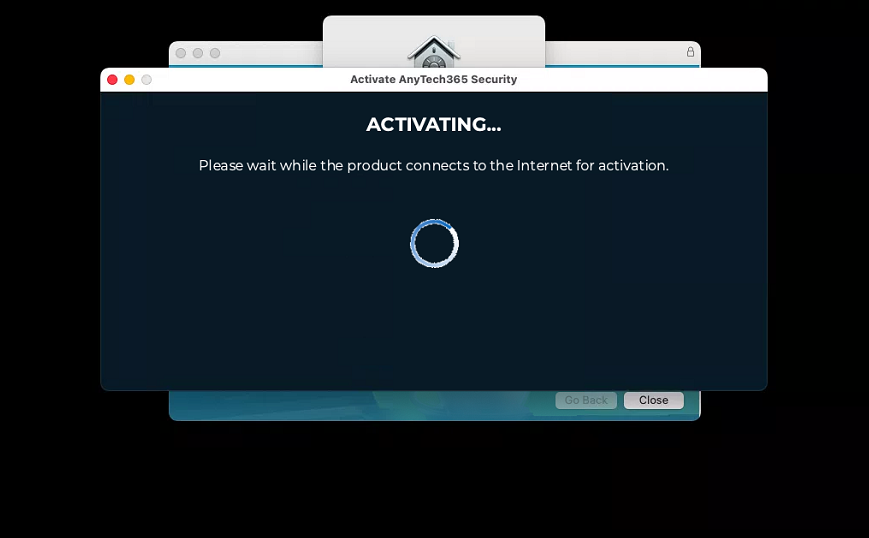
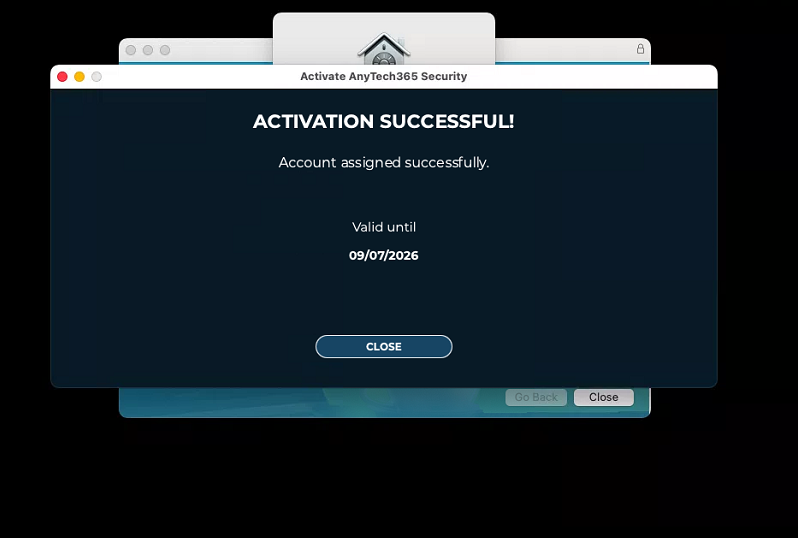
Once the software launches, you'll see that basic protection is already active.
However, to ensure full protection, the software must be activated.
Click "My Products" on the bottom-left corner of the window to access the activation screen.
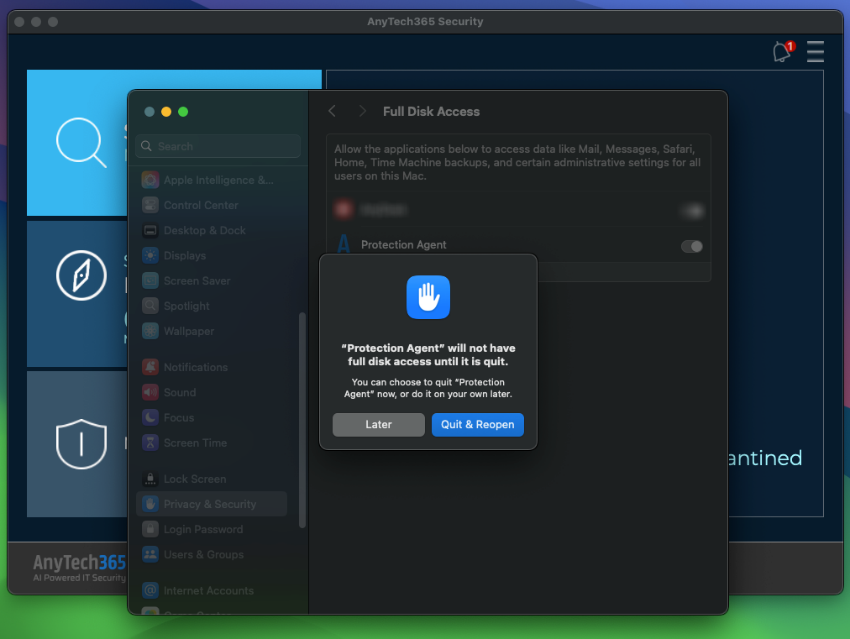
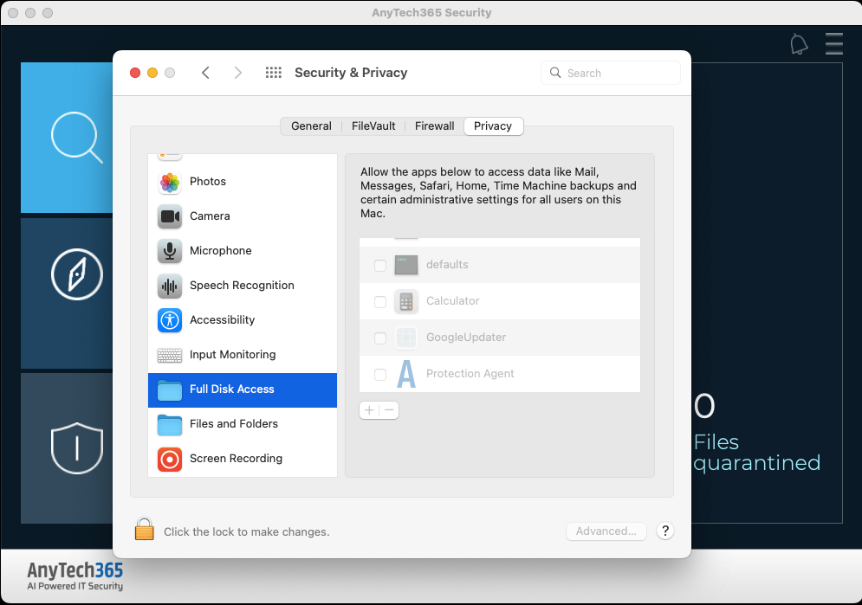
For macOS Users – Full Disk Access
-
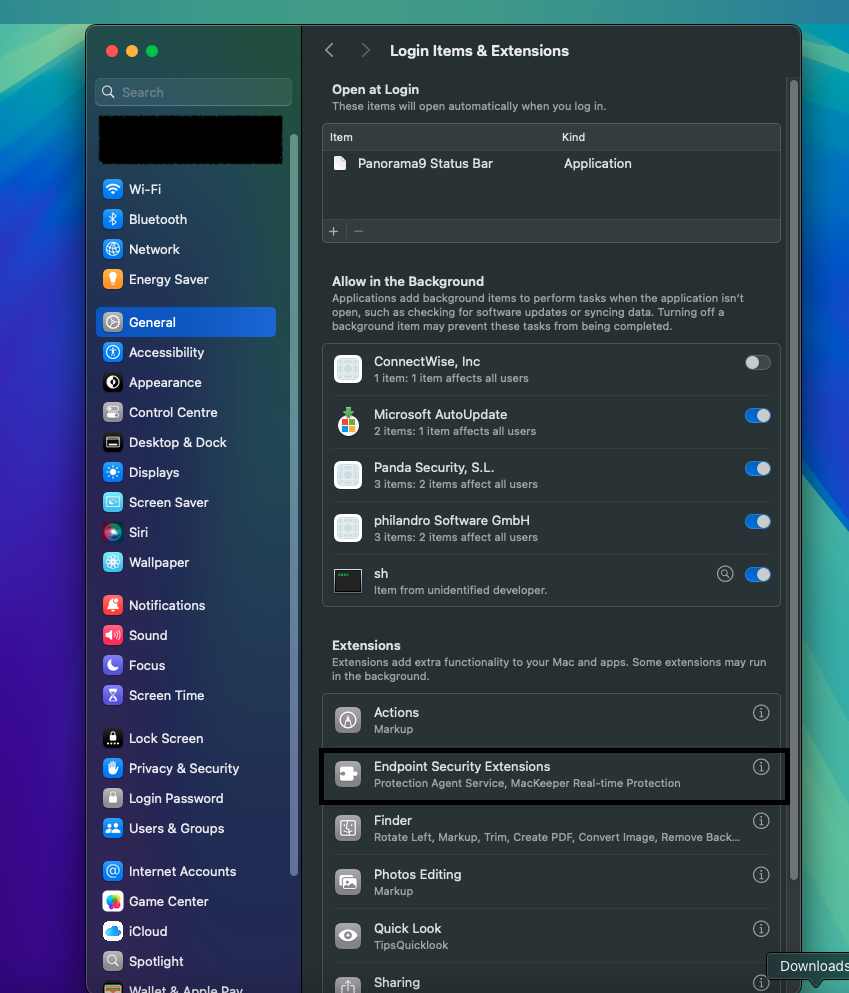
Full Disk Access Pop Up: In case a message appears requesting Full Disk Access, click on “Open hard disk access preferences”.
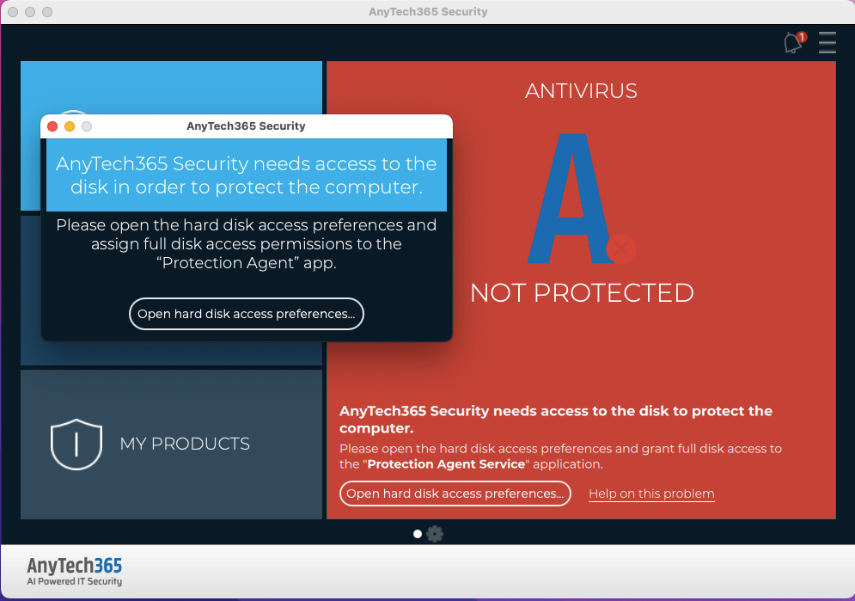
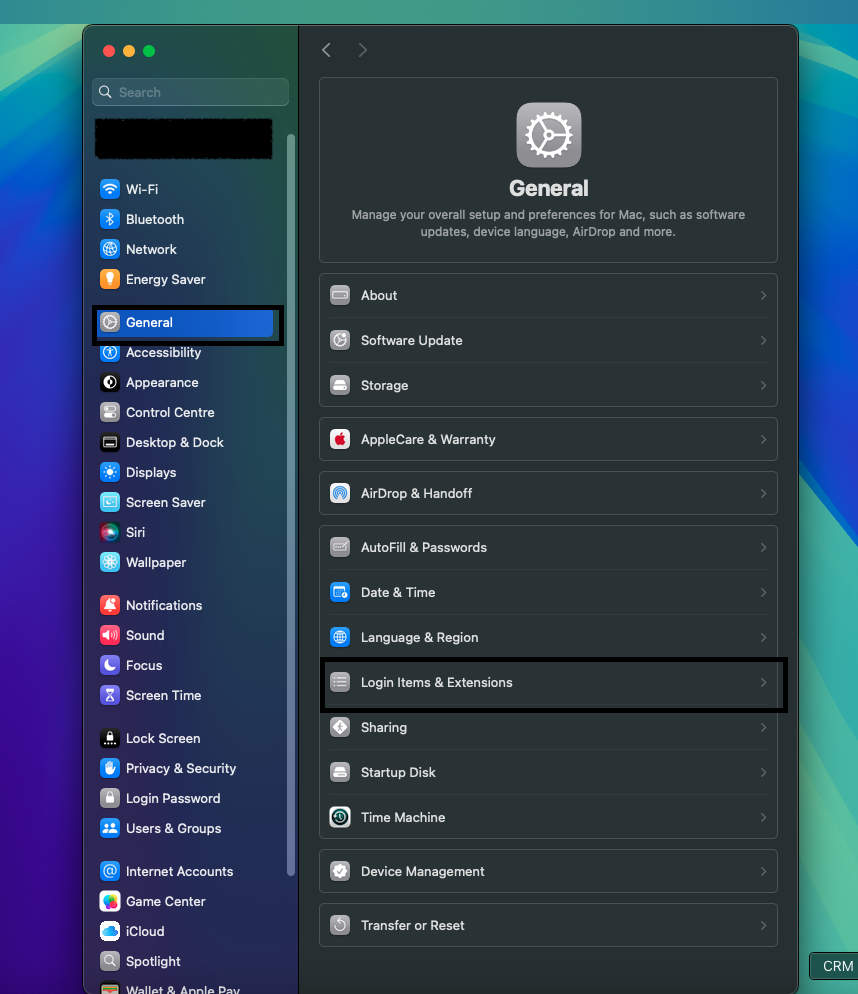
If you are using mac OS Sequoia, click on “Open Security Preferences Panel”. Alternatively, navigate to “System Settings” – “Privacy and Security” – “Full Disk Access”. Click here to view the “Full Disk Access” process for Sequoia.
-
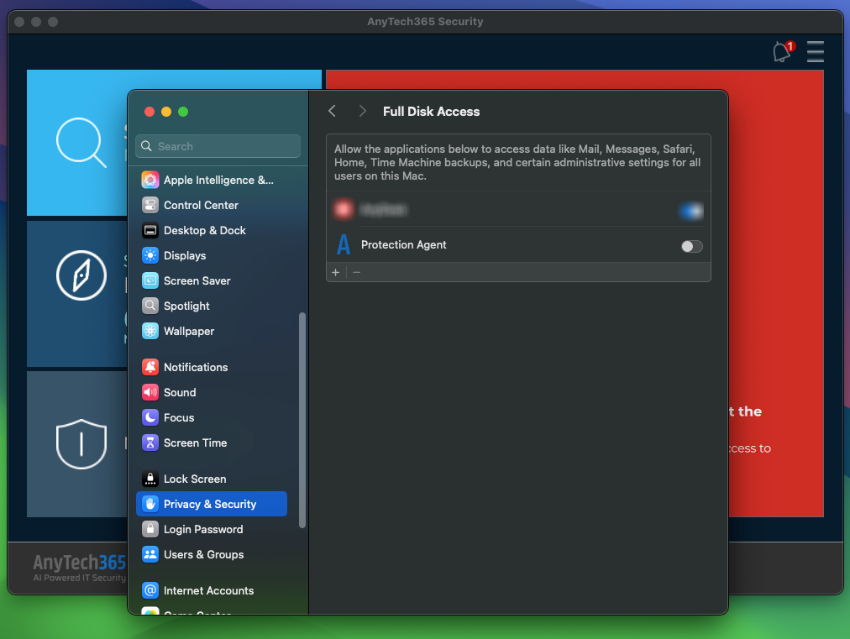
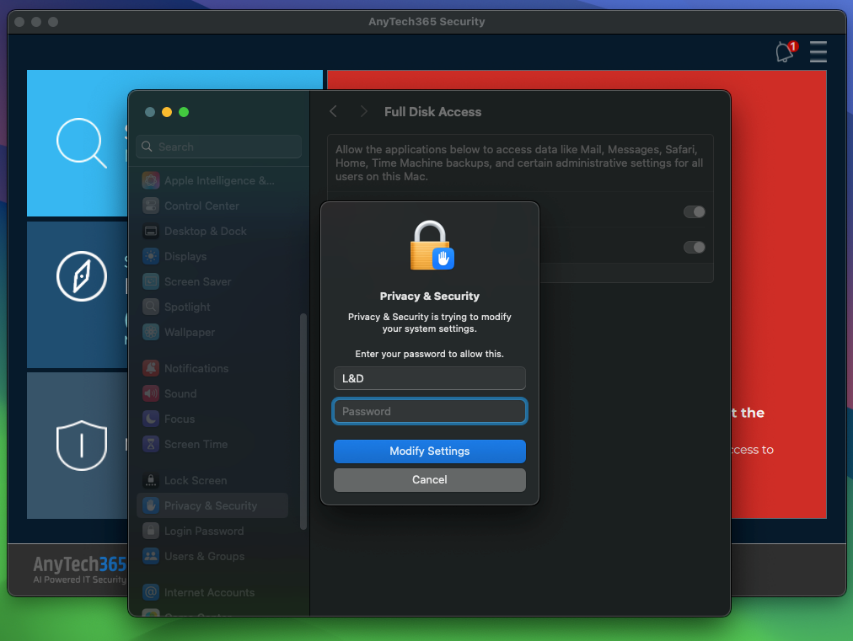
You will be redirected to “Security & Privacy settings - Full Disk Access”. First click on the lock icon on the bottom left of the menu.
-
Enter you Mac login password.
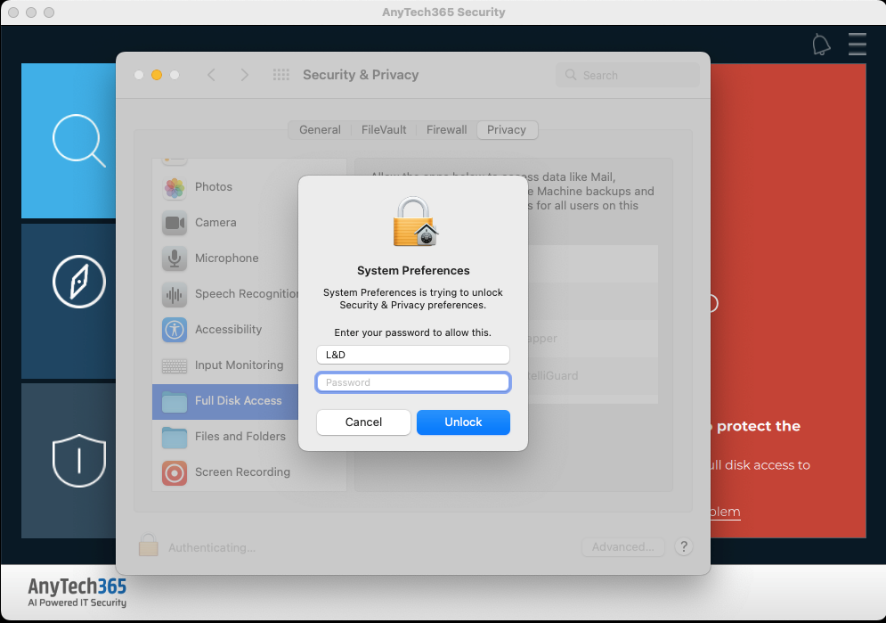
-
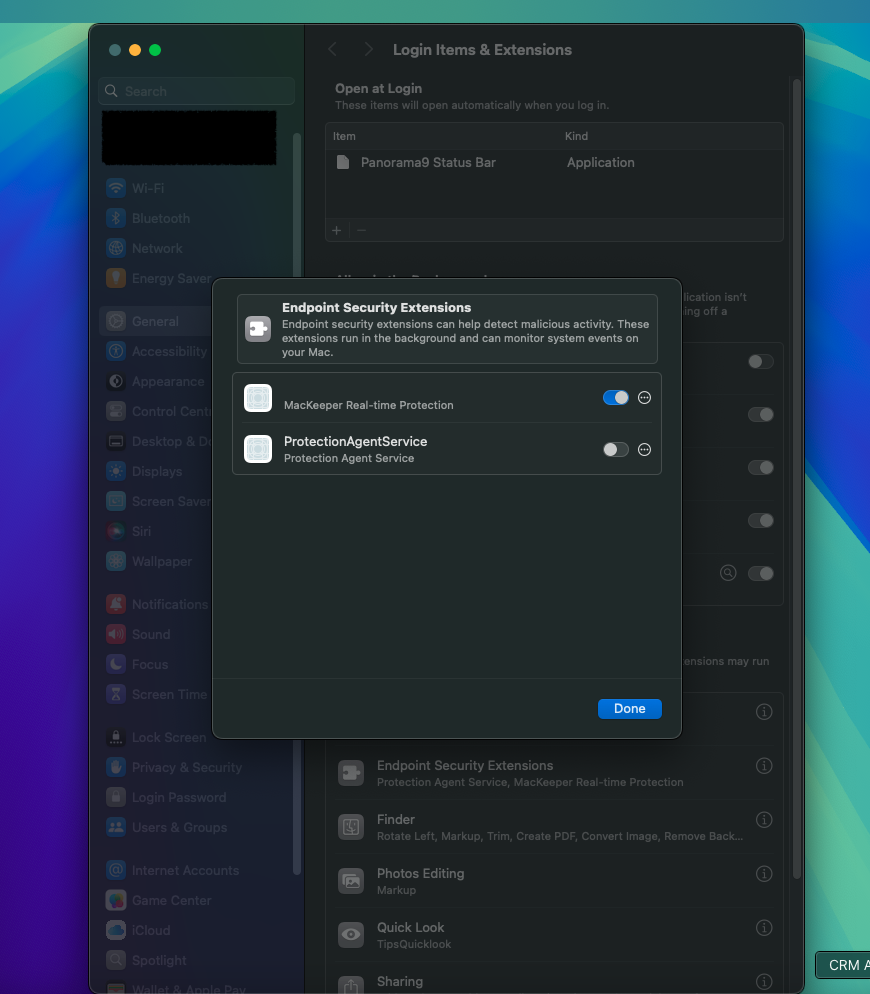
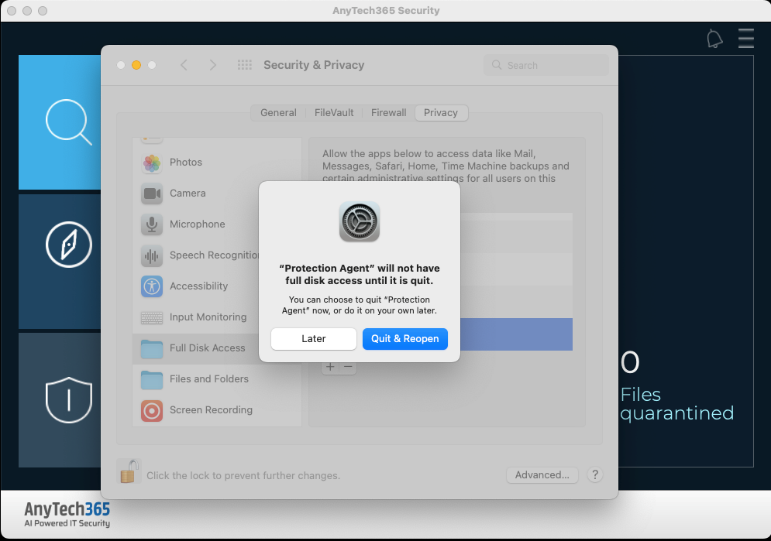
Search for "Protection Agent" on the right-side panel.
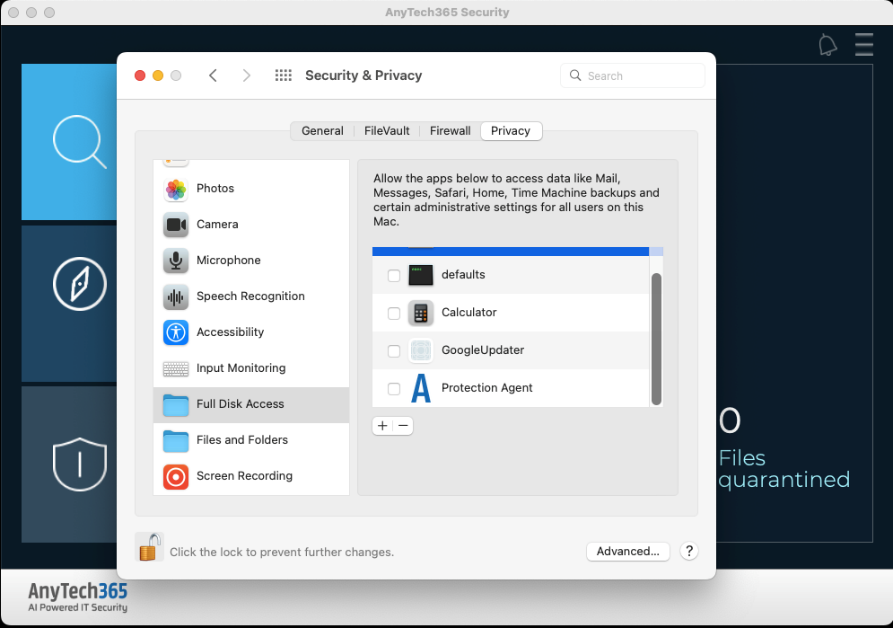
-
Click on the checkbox next to "Protection Agent".
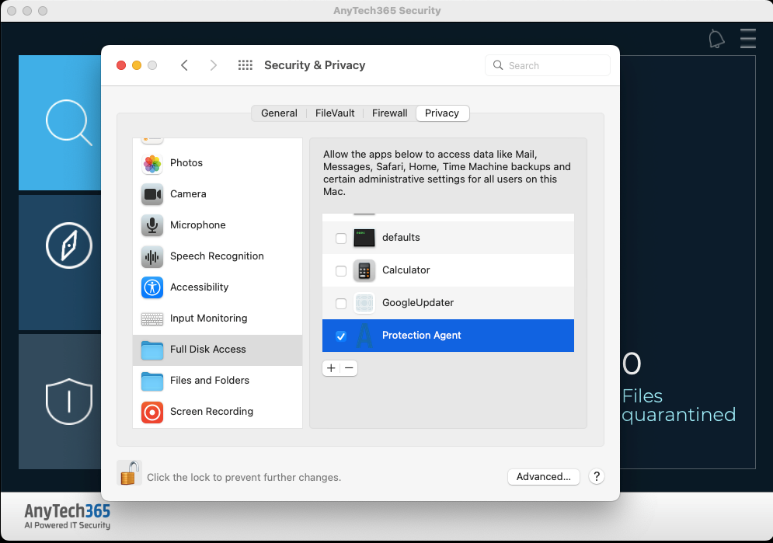
-
Click “Quit & Reopen” for the changes to take effect.
-
AnyTech365 Security is now correctly configured and ready to provide full protection.